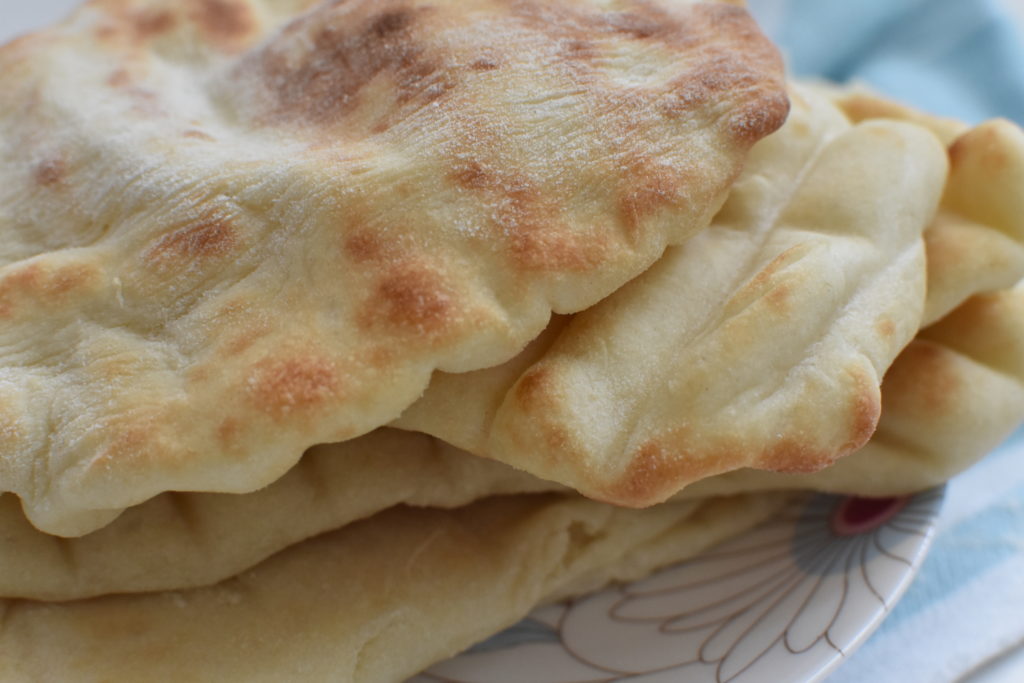
 Not a big fan of souvlaki? (weird, but ok) These pitas would be great for other meals too—why not make pita pizzas, sandwich wraps with your weekend leftovers, put them out on a platter with hummus and dips for wine time – the possibilities are endless! Oh, and they’re great stuffed with tuna, tomato and onion, my favourite.
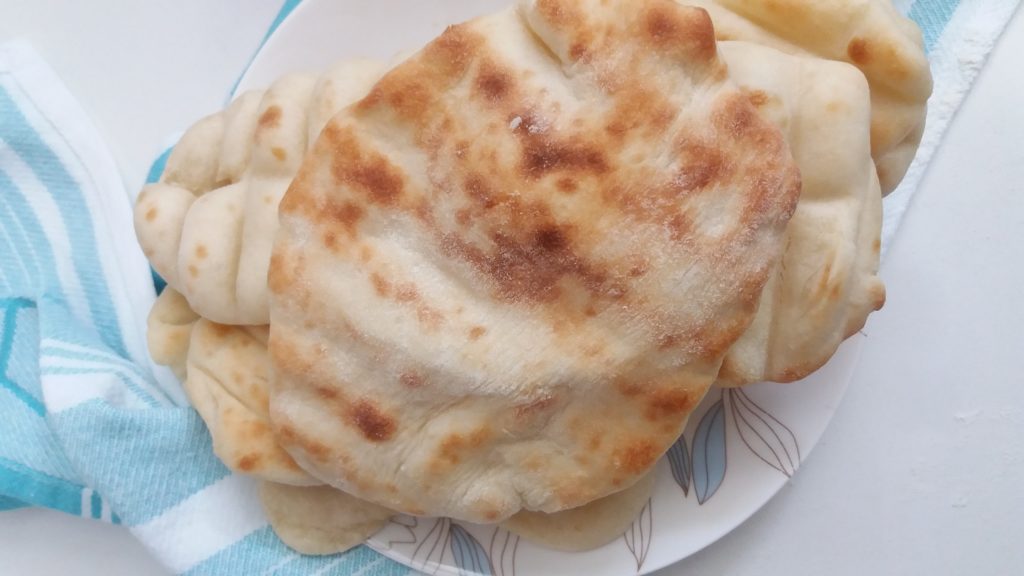
WAIT, I’ve just had another idea. Brush them with garlic butter and poof, they can even pass as naan! Woah.
Not a big fan of souvlaki? (weird, but ok) These pitas would be great for other meals too—why not make pita pizzas, sandwich wraps with your weekend leftovers, put them out on a platter with hummus and dips for wine time – the possibilities are endless! Oh, and they’re great stuffed with tuna, tomato and onion, my favourite.
WAIT, I’ve just had another idea. Brush them with garlic butter and poof, they can even pass as naan! Woah.
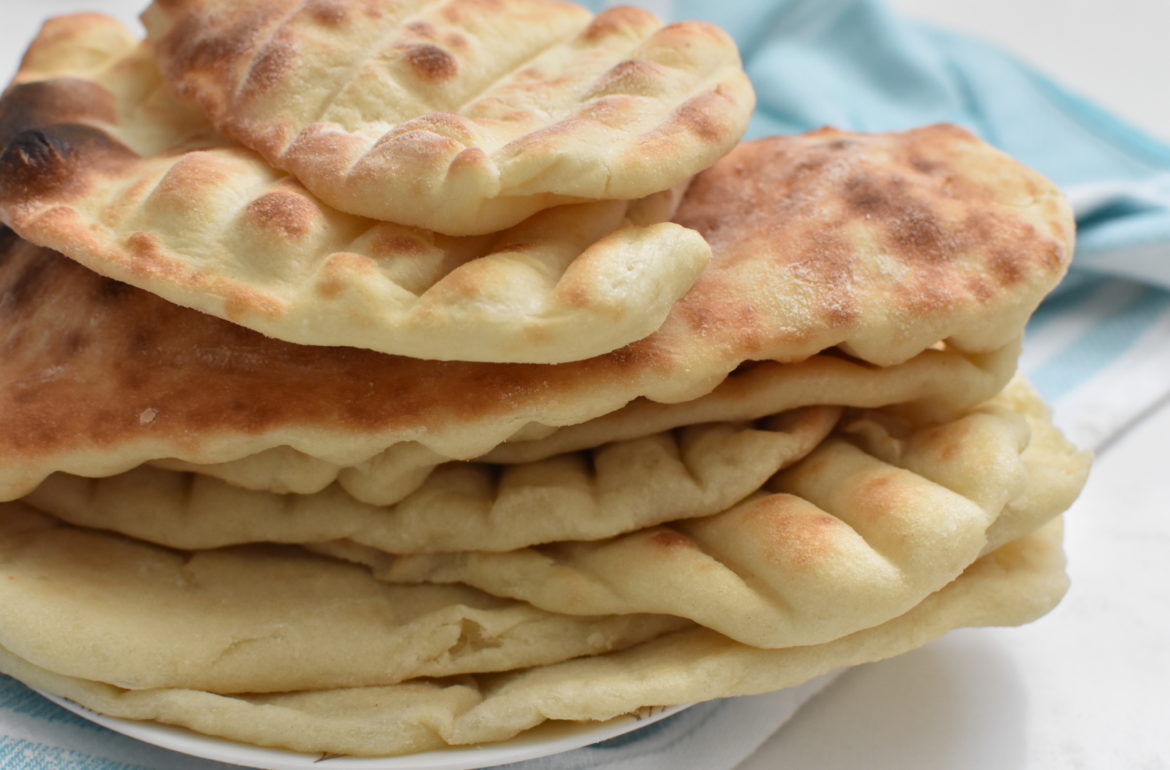
 These are a yeast bread but they’re very easy and quick to put together. The original recipe suggests you grill them on the barbeque but I put them under my oven broiler and they came out just right. I only did that because I am not blessed with a barbeque, but was thrilled to have another viable option. If you have a barbeque, I’d definitely suggest using it. I mean, that charred flavour just adds that special…something.
With a recipe this simple, there’s no need to mess around. Let’s get right to it.
Print
These are a yeast bread but they’re very easy and quick to put together. The original recipe suggests you grill them on the barbeque but I put them under my oven broiler and they came out just right. I only did that because I am not blessed with a barbeque, but was thrilled to have another viable option. If you have a barbeque, I’d definitely suggest using it. I mean, that charred flavour just adds that special…something.
With a recipe this simple, there’s no need to mess around. Let’s get right to it.
Print
Quick and easy homemade pitas
- Total Time: 40 mins
- Yield: 12 pitas 1x
Description
These quick and easy pitas will make you feel like a kitchen rockstar. You made your own pitas?! Why yes, yes I did. Recipe modified from Caroline Velik (carolinevelik.com.au)
Ingredients
Units
Scale
- 1 1/4 cups tepid water
- 1 1/2 teaspoons of dry yeast
- 1 1/2 teaspoons caster sugar
- 460g plain flour
- 1 teaspoon sea salt
- 1/2 cup of olive oil
Instructions
- Mix together water, sugar, and yeast in a small bowl and leave in a warm spot until mixture foams, around 20 minutes.
- In a large bowl mix the flour and salt and make a well. Add the olive oil and the yeast mix and combine. Work the mix until it comes together and then turn out on to a lightly floured bench and knead for a few minutes until the dough becomes silky and smooth.
- Put it back into the bowl and cover with a tea towel and leave to prove for around 15 – 20 minutes.
- Preheat the Barbeque to a medium heat/preheat oven broiler on high.
- Divide the dough into 12 and roll out into flat thin even disks approximately 16cm in diameter.
- Brush the flat bread with some olive oil and place it oil side down on the bars of the BBQ. Gently brush a little oil on top as well. **I didn’t brush oil on, just slapped them straight on the oven grate.
- In a matter of seconds the bread will start to puff and after 20-25 seconds flip them over and cook for 20 seconds more. Do not cook for too long or they will dry out too much and become crisp.
- When they are cooked stack them one on top of the other and wrap them tightly in a clean tea towel or even cling wrap to keep them warm and help them sweat a little and stay soft until ready to use.
- Prep Time: 30 mins
- Cook Time: 10 mins
- Category: Bread
Comments (4)
Oooo! I LOVE what you’ve done with the place Mel! This is great!
I have needed a GOOD pita recipe for a while now, so I really appreciate this. I’ll let ya know how they turn out. (you’re gonna get me loving Greek food)
Thanks Sarah, your opinion means a lot! Yes please do let me know. A lot of friends have talked about adding garlic and making them into naan bread too. Either way, YUMMMO 😀
Melanie….perfect! So glad to have this recipe I. The arsenal 🙂
😀