International Coffee Day took place last weekend, so in honour of such a special day, I had one (or three) cappuccinos. At least that’s what I call my frothy coffees that I make with my stove top espresso maker and my trusty Ikea milk frother. But wait. I drink coffee every day! Something much more special was warranted for this annual occasion.
Being a lover of desserts, adding my favourite morning beverage to the mix seemed like a great idea. I mean, I’m usually already dreaming of my next morning’s coffee by the evening before anyway. Am I the only person who does this?
I’ve tried to make pavlova before, but really had no idea how it was meant to turn out. But I had seen the beautiful swirly delights in plenty of food magazines (Donna Hay I’m talking to YOU) and thought, I’ve made meringues before, how hard can it be to make pavlova?!
As it turns out, not hard at all, but having had no previous hands-on knowledge of the things, the first time I attempted it I thought it was an epic fail – while beautifully golden and crunchy on the outside, the centre was still foamy and (what I thought was) uncooked. I was so disappointed! I’d probably thrown in at least half a dozen egg whites and with no dessert to show for it!
Fast forward some years later, when at a summer BBQ in New Zealand, I was served the most delicious bowl of traditional pav: crunchy and sweet on the outside, perfectly mousse-y on the inside, topped with extra cold whipped cream and tart kiwi fruit. It was a revelation! And not just for my tastebuds. I finally knew what I was aiming for the next time I gave my own pavlova a try. The insides should be firm and mousse-like with a crispy outer layer. I had been on the right track all along! What is it that Oprah used to say? When you know better you do better? Well this International Coffee Day it was time to get back into the kitchen and do better.
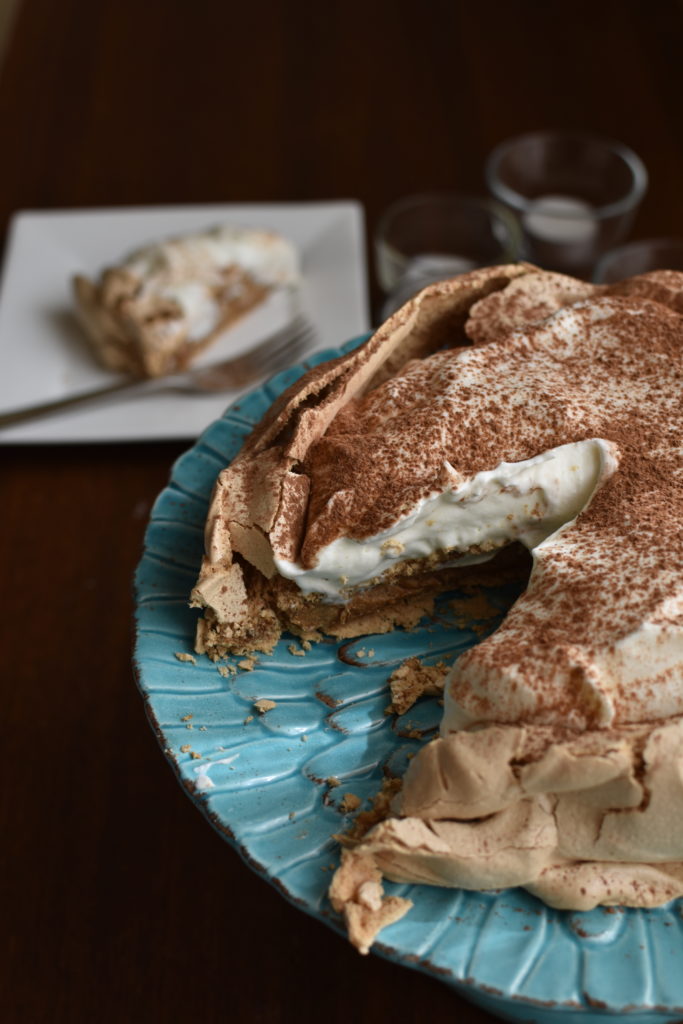
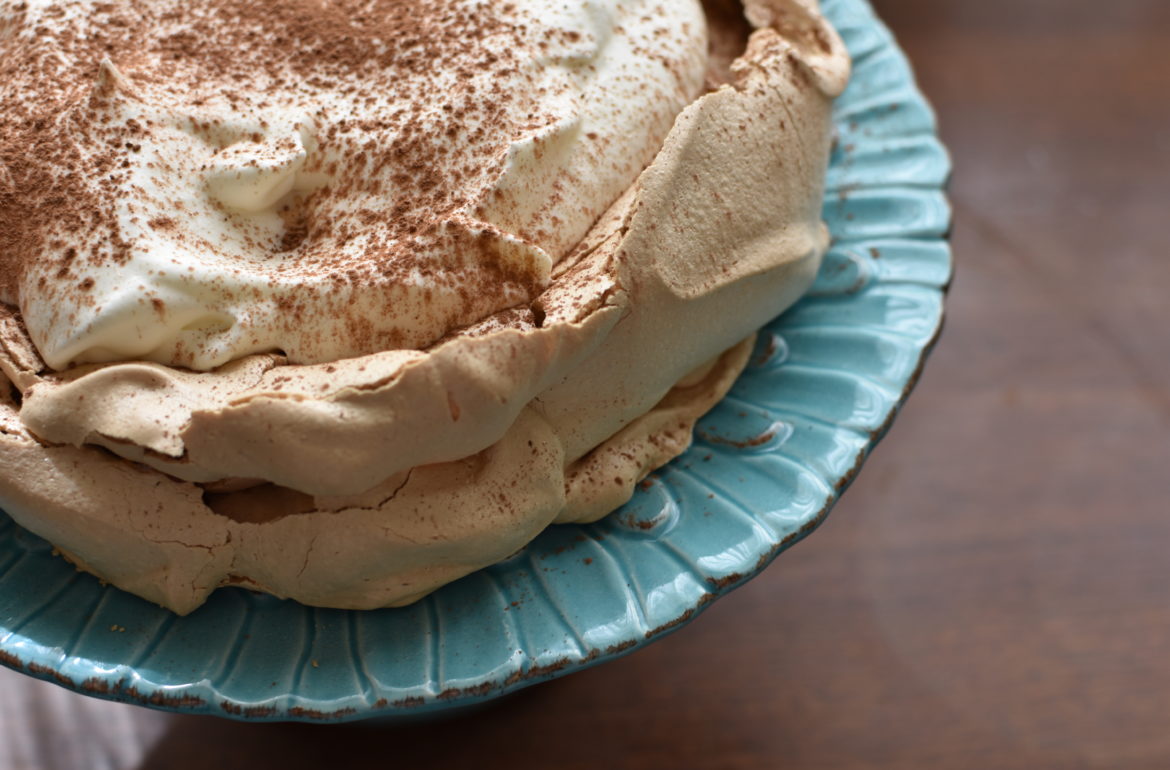
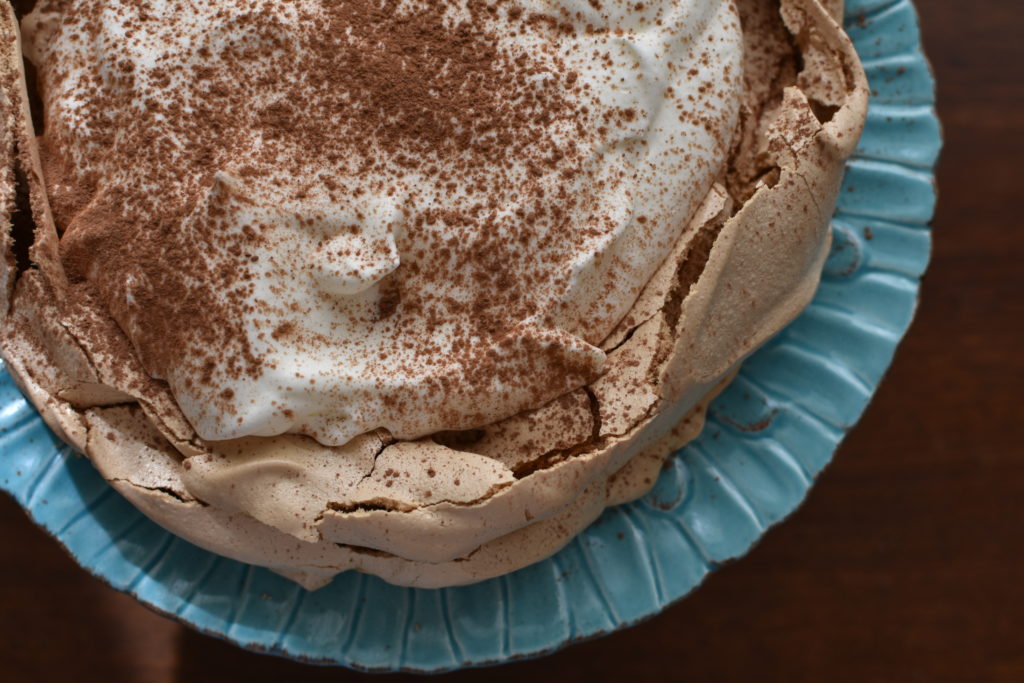
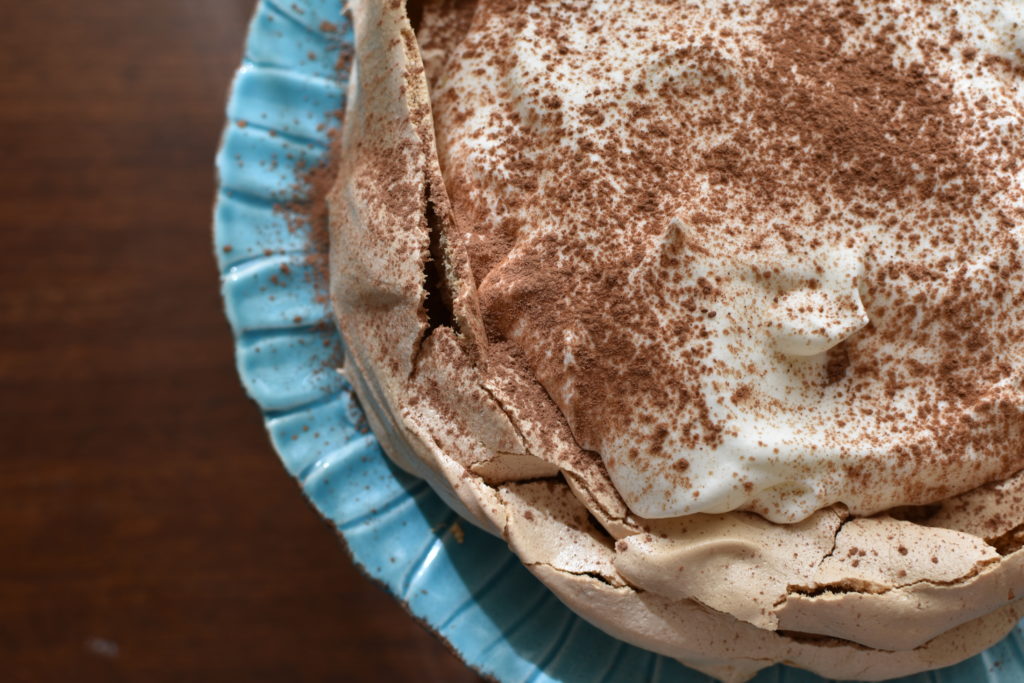
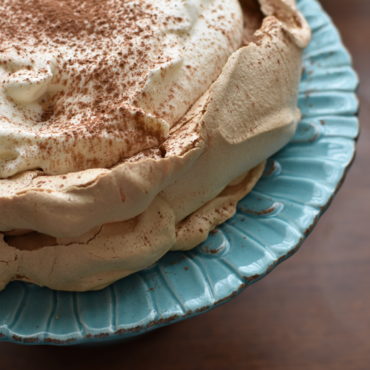
Crispy, dissolve-in-your-mouth corners, with a firm centre, topped with cold whipped cream and lightly dusted with cocoa (or you could shave cold chocolate instead for a real show-off move), I’m telling you, I love coffee, and I also love pav, but this dessert surprised me. It was easy, it was delicious, and it lasted for days (repeat dessert, win!). If you want a crowd-pleasing, show-offy dessert that’s easy as, well, pav, look no further. You’ll feel like a baking rock star when you pull this baby out of the oven, and for those of you who are from north of the 49th parallel, this dessert tastes an awful lot like Coffee Crisp. Hello.
International Coffee Day or regular any day of the week day, you need to make this dessert. It will make your night, and your morning.
Give it a try and let me know how it turns out! Share your results in the comments below.
Mel xo
BAKER’S NOTES
In case you’re new to this whole whipping egg whites business, here are a few tips:
- Make sure you don’t get any yolks or bits of yolk in your egg whites. To give you the best chance of success, separate the eggs when they’re cold and right out of the fridge, and use multiple bowls: One for the egg white you’re working on, another to drop the yolks in, and a third to transfer each egg white into as you’re working. This way, if you do a great job of the first two eggs but mess up the last one, you don’t ruin the whole bunch. While egg whites separate out better when the eggs are cold, they whip up better at room temperature, so once you’ve successfully separated your eggs, let them sit out for a bit.
- Make sure the bowl you whip the egg whites in is clean, dry and grease free. As an extra layer of insurance, I like to dip a paper towel into some lemon juice or vinegar (just until damp) and wipe the inside of the bowl and let it dry. Now you’re 100% grease-free, and ready to whip.
- When the pav is finished cooking, leave it in the oven to cool with the oven turned off and the door left ajar. Don’t be tempted to check it! It will likely crack a little bit even if you leave it in the oven but don’t worry, that’s what the whipped cream is for!
- This recipe comes together quite quickly and the scariest bit is getting used to how the eggs should look throughout the process, especially if you haven’t made pavlova or meringues before. Basically, you want to whip the egg whites until they’re foamy but smooth and not too dry. If you lift up the whisk or paddle mixer from the mixture at this point, the peaks will fold over themselves, they won’t stick straight up. This is when you want to slowly add the sugar, in small batches, making sure the sugar is dissolved before adding more. How do you know this? Stick your index finger in the mix (mind the beaters!) and rub it together with your thumb. If it feels gritty, you need more whipping time before your next addition. If it feels smooth, you’re good to go!
- 4 egg whites
- 150g caster sugar plus extra for whipped cream topping
- 3 teaspoons instant espresso powder (instant espresso not recommended though you could use in a pinch)
- pinch of salt
- 2 teaspoons cornstarch
- 1 teaspoon vinegar or lemon juice
- 250ml whipping cream
- sugar and vanilla to taste
- Preheat oven to 350F.
- Line a baking tray with parchment paper and measure out the desired size and shape of pavlova (I traced with a pencil around the cake plate I was using to serve). If the parchment won't stay put, spray cooking spray onto the tray, then place the paper on top.
- Mix sugar with coffee, set aside.
- In a clean bowl, add egg whites with a pinch of salt and beat to soft peaks.
- Then add coffee sugar one spoonful at a time, whisking thoroughly after each addition until stiff and smooth.
- Add the vinegar/lemon juice and whisk.
- Sieve cornstarch into eggs and mix through gently with a spatula.
- Carefully spread the meringue onto the baking tray, staying within the lines you've traced. This is where you can make fun shapes and swirls in the mixture for visual effect.
- Place in the oven and immediately turn down the temperature to 300F.
- Bake for approx. 1 hour. Pavlova should be crispy and rigid on top and sides.
- Turn off the heat and leave to cool in the oven with the door ajar for a few hours or overnight.
- In a large bowl, combine whipping cream, and add sugar and vanilla to taste.
- Beat to soft peaks.
- Top cooled pavlova with whipped cream and dust with cocoa or grated chocolate.
- Serve immediately and store any leftovers in the refrigerator.
- Leftovers last up to 3 days in the fridge.

Comments (4)
This is gonna be something so try to master very soon. I love the flavors here! Thank you for all the tips! Yummy stuff!!!
Thanks Sarah, it’s much easier than I’d imagined. Let me know how it goes!
Mel, I am so happy to see this post and so excited to try this one day!
Thanks Raj! Next time I make it I’ll bring you some 🙂